Follow Me On Social Media!
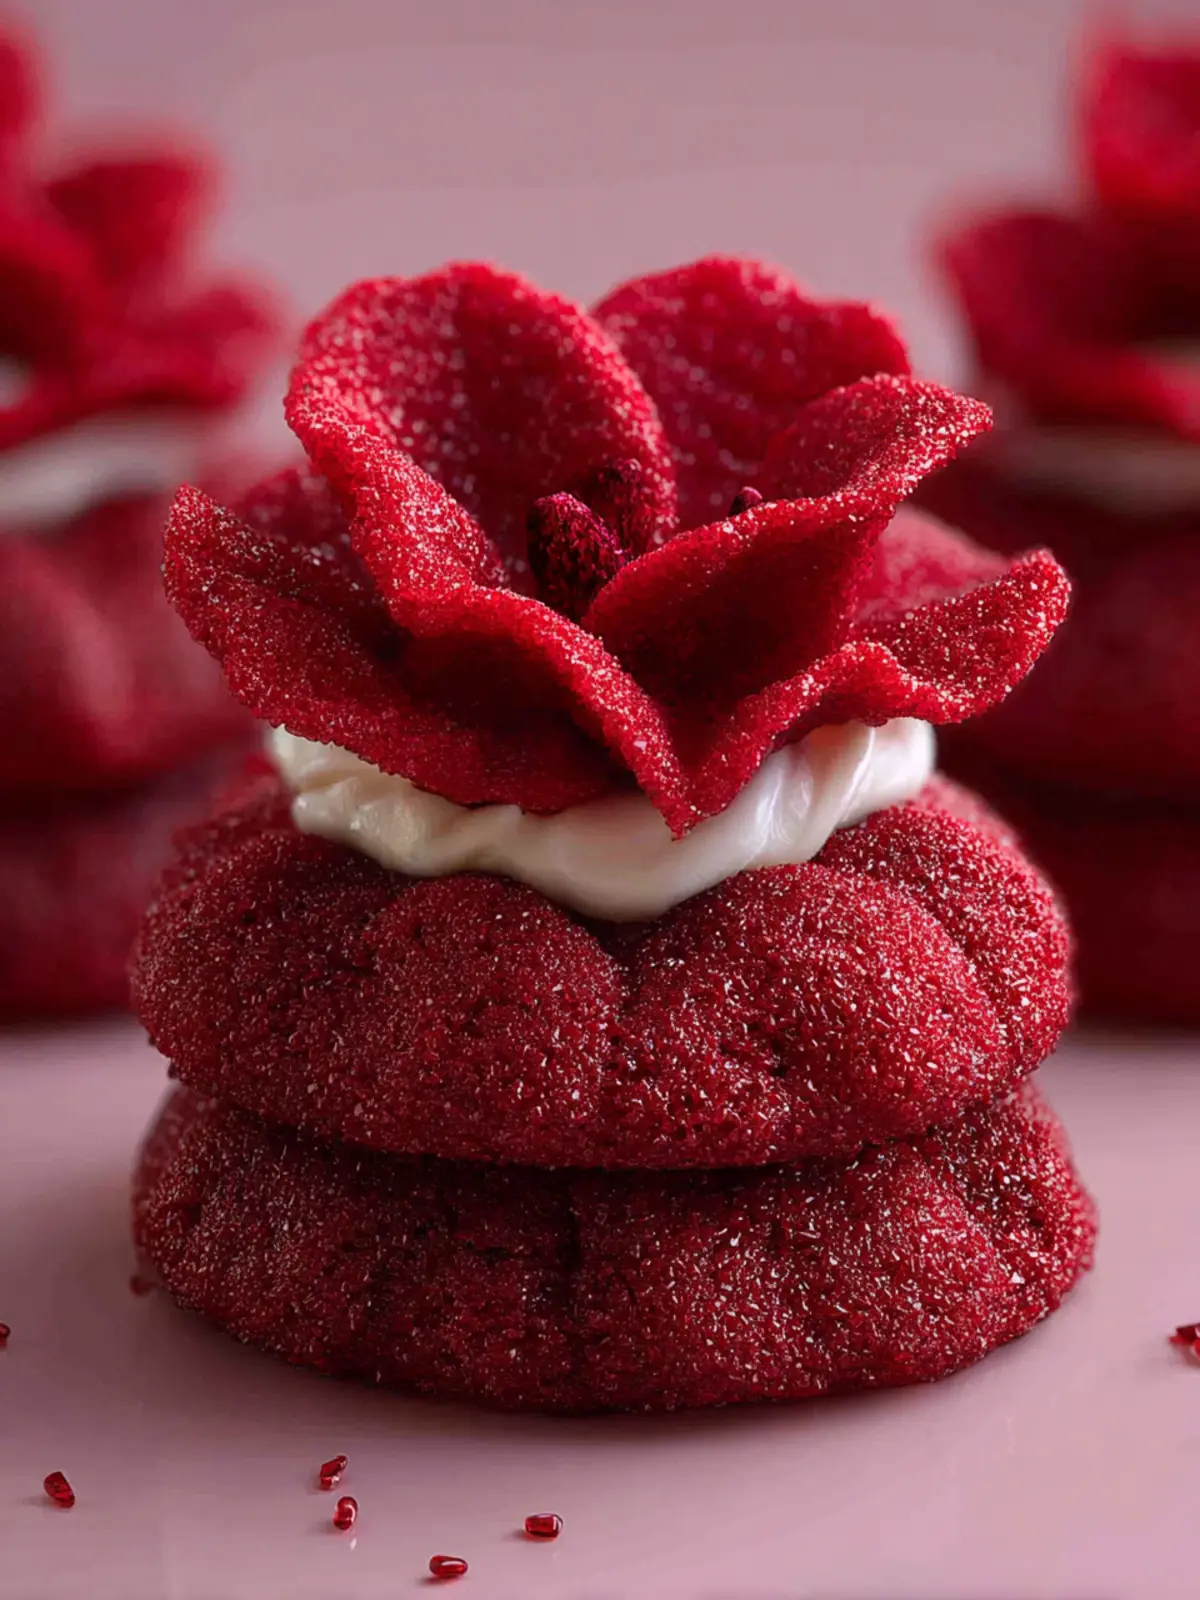
Easy Red Velvet Blossoms: Irresistibly Soft & Sweet Treats
Introduction to Easy Red Velvet Blossoms
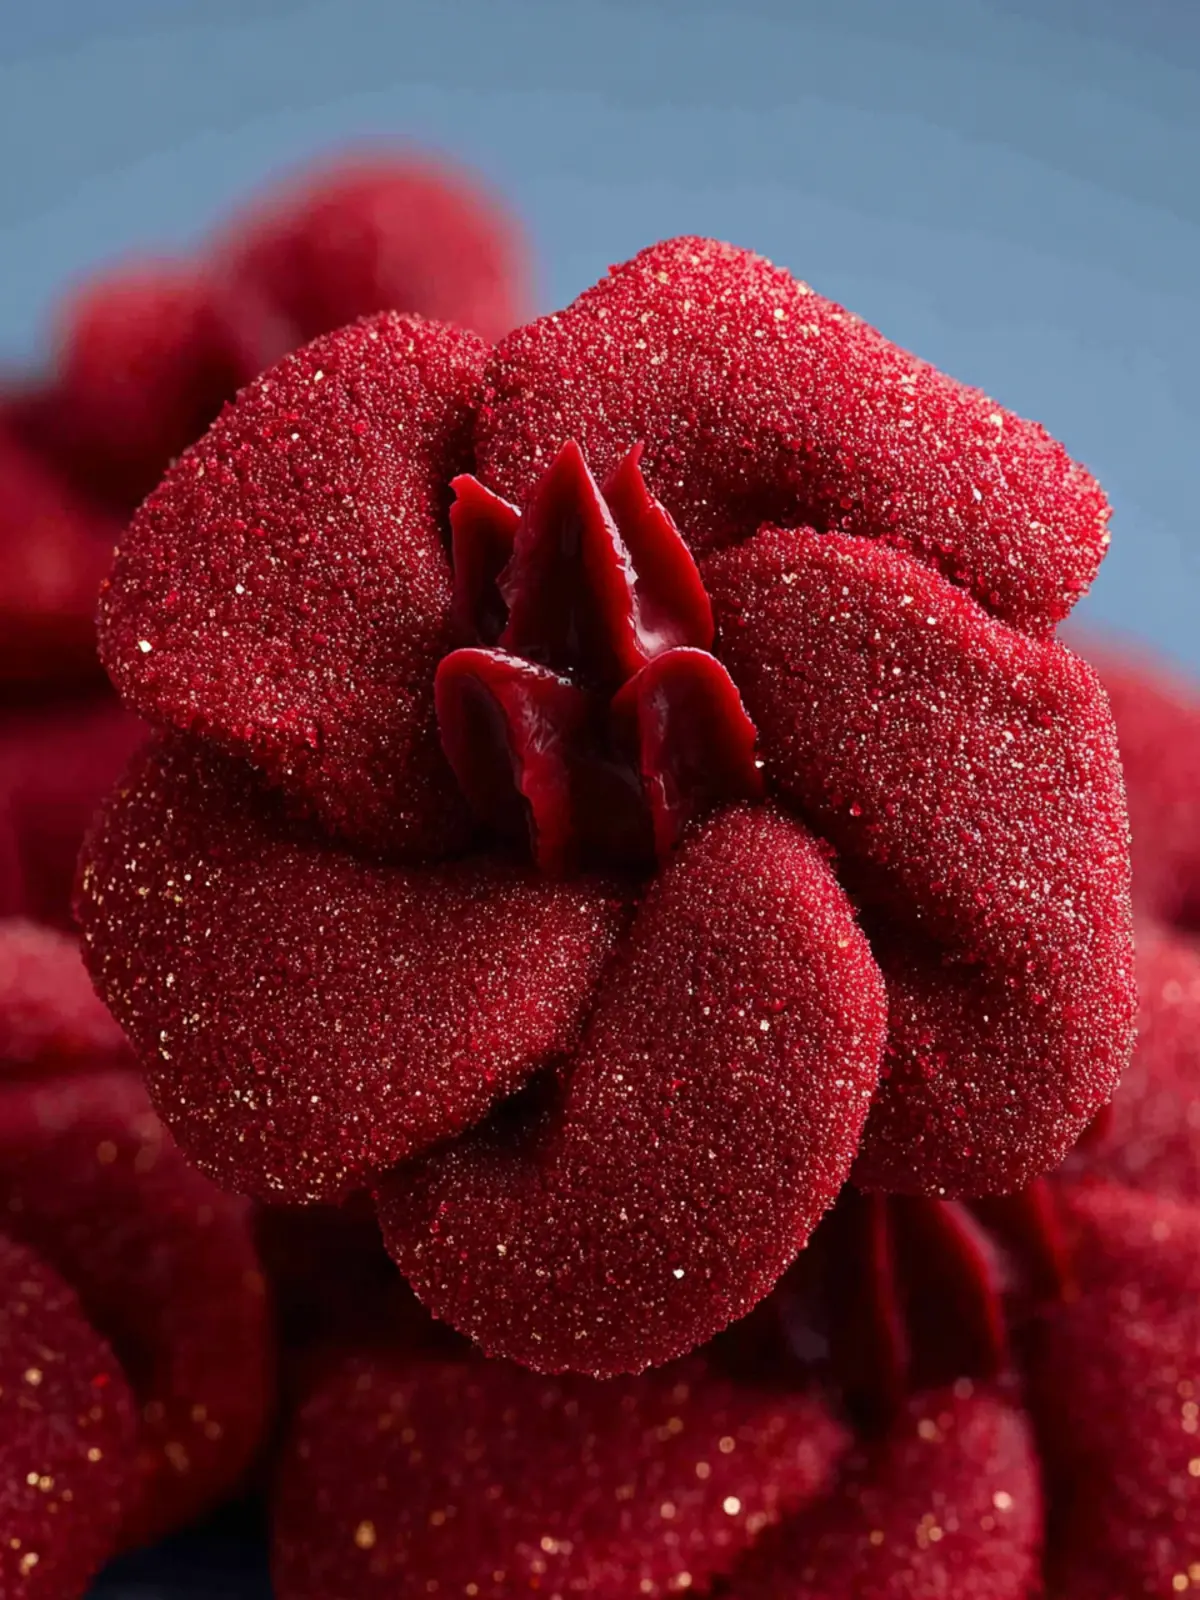
The delightful world of baking offers a treasure trove of recipes, and among them, easy red velvet blossoms stand out for their charming look and rich flavor. Picture a treat that combines the traditional allure of red velvet with the irresistible qualities of a soft, chewy cookie. That’s exactly what these blossoms bring to the table. As you bite into them, you experience not just sweetness but a nostalgic journey that transports you back to celebratory moments—whether it’s a birthday party, holiday gathering, or a cozy afternoon at home.
Crafting these cookies isn’t just about following a recipe; it’s an entire experience. The vibrant red hue evokes feelings of warmth and joy, making them perfect for sharing. You can’t help but feel excitement as you watch the lovely white chocolate kisses melt slightly atop each cookie, creating a sweet contrast that is both visually stunning and downright delicious.
What Makes Easy Red Velvet Blossoms So Special?
The magic of easy red velvet blossoms isn’t just in their eye-catching appearance; it’s also about how approachable they are for both novice and seasoned bakers alike. Let’s break down some reasons why they hold a special place in the culinary world.
-
Flavor Fusion: Red velvet is traditionally a blend of cocoa and vanilla, with a hint of tanginess from buttermilk. This unique combination gives the blossoms a rich flavor profile that sets them apart from standard cookies.
-
Versatility: These cookies are perfect for any occasion, from casual get-togethers to festive celebrations. You can customize them with various toppings or fillings, ensuring they remain a favorite no matter the season.
-
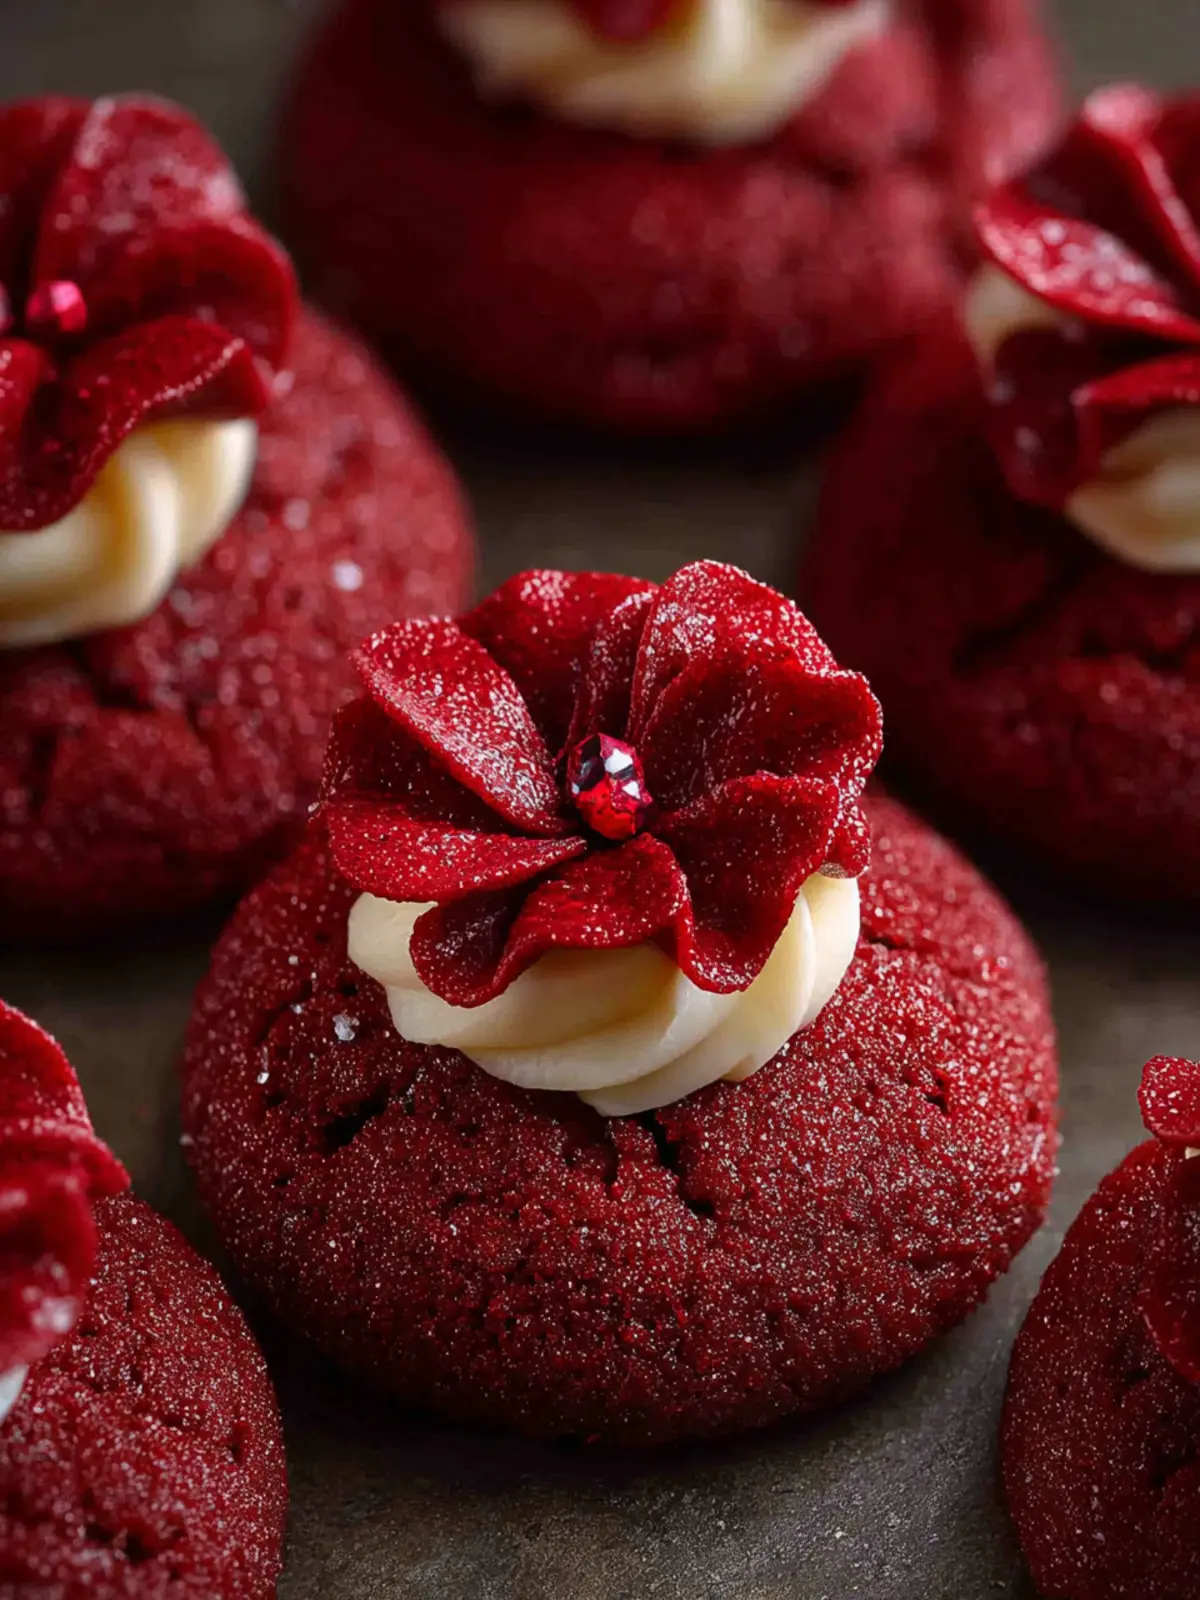
Visual Appeal: The striking red color, paired with the white chocolate kiss, creates a stunning contrast that’s hard to resist. They become a centerpiece on any dessert table, drawing everyone in with their vibrant presence.
-
Simplicity: Unlike many red velvet recipes that require layers or intricate designs, these blossoms are delightfully easy to whip up. You’ll find yourself returning to this recipe time and again. So why not let your creativity shine and impress friends and family alike?
With this introduction, you’re surely on your way to becoming a red velvet blossom aficionado!
Key Ingredients for Easy Red Velvet Blossoms
Red Velvet Cake Mix: For a quick and delightful base, I rely on a high-quality red velvet cake mix. It provides a vibrant hue and that classic red velvet flavor without the fuss of measuring out ingredients. If you want to experiment, feel free to explore different brands that might offer unique flavor profiles.
Cream Cheese: The true star of these easy red velvet blossoms is the cream cheese. It adds almost a tangy richness that balances perfectly with the sweetness of the dough. I recommend using block cream cheese instead of spreadable varieties for the best consistency.
Confectioners’ Sugar: For the icing, confectioners’ sugar is a must. It not only sweetens but also gives your icing that luscious, smooth texture that makes decorating a breeze. If you prefer a sugar-free alternative, you can find powdered sugar substitutes that work quite well.
Butter: Adding melted butter to the dough enhances the richness of these blossoms. Trust me, it makes a noticeable difference in flavor and texture, giving each cookie that perfect chewiness that keeps you coming back for more.
Eggs: Eggs are essential for binding all the ingredients together. They create that soft and tender crumb that you want in every bite, contributing to the overall moistness.
These simple ingredients come together to make easy red velvet blossoms that are not only visually stunning but also incredibly satisfying to eat.
Why You’ll Love These Easy Red Velvet Blossoms
Imagine a delightful blend of rich cocoa, smooth cream cheese, and that signature red hue bringing a spark of joy to your dessert table. These easy red velvet blossoms are not just another cookie; they embody celebration, indulgence, and comfort all in one bite. Each bite is a burst of chocolatey goodness, topped with a sweet cream cheese frosting that will remind you of all your favorite throwback treats.
Light, airy, and simple to prepare, these blossoms make for the perfect dessert anytime you’re hosting friends or just treating yourself. Whether it’s a casual get-together or a special occasion, these cookies fit right in.
Here’s why you’ll love them:
- Quick and Effortless: With minimal prep and bake time, you can whip up a batch and enjoy them in no time.
- Crowd-Pleaser: Their unique flavor and gorgeous appearance make them irresistible, so they’re sure to impress your guests!
- Endless Enjoyment: They’re delightful freshly baked or even as leftovers (if they last that long!).
Once you get a taste of these easy red velvet blossoms, you’ll be coming back for seconds, and maybe even thirds! Enjoy baking these magical treats and sharing them with loved ones.

Variations on Easy Red Velvet Blossoms
The classic easy red velvet blossoms recipe carries a delightfully rich flavor, but why stop there? With a few simple tweaks, you can effortlessly customize these treats to suit your taste or occasion.
Chocolate Chip Delight
If you’re a chocolate lover, consider mixing mini chocolate chips into your dough. The combination of rich cocoa and creamy chocolate makes for a delectable treat that will satisfy even the most intense cravings.
Cream Cheese Swirl
Elevate your blossoms with a luscious cream cheese swirl. By combining cream cheese, sugar, and a splash of vanilla extract, you create a sweet, tangy filling. Drop a teaspoon of this mixture in the center of each blossom before baking for a surprise that’s sure to delight.
Nutty Crunch
For a crunchy twist, fold in finely chopped nuts, such as pecans or walnuts. The addition brings a lovely texture and complements the richness of the red velvet beautifully, making each bite an irresistible experience.
Seasonal Spices
As seasons change, so can your spices. For a holiday flair, add a dash of cinnamon or nutmeg to the dough. It’s an inviting way to make your easy red velvet blossoms feel festive and warm, perfect for gatherings with family and friends.
These variations prove that the charm of easy red velvet blossoms lies in their versatility—get creative and make them uniquely yours!
Cooking Tips and Notes for Easy Red Velvet Blossoms
Creating easy red velvet blossoms is a delightful way to sprinkle a little sweetness into your day. These charming treats are not just visually appealing but also melt-in-your-mouth delicious! Here are some helpful tips to ensure your baking experience is smooth and enjoyable.
Use Quality Ingredients
-
Cocoa Powder: Opt for high-quality unsweetened cocoa powder for rich flavor. This sets the foundation for the signature deep red hue and earthy taste.
-
Red Food Coloring: Gel food coloring works best as it’s more concentrated than liquid coloring. A little goes a long way to achieve that vibrant red without affecting the batter’s consistency.
-
Butter vs. Margarine: Stick with unsalted butter for the batter. It helps create a tender texture and adds a rich taste. Margarine can alter the textural outcome, so I recommend using butter whenever possible.
Mixing Matters
-
Don’t Overmix: When combining your wet and dry ingredients, mix until just combined. Overmixing can lead to tough blossoms, which is the last thing you want when creating these tender cookies.
-
Chill the Dough: For easier handling, consider chilling the dough for about 30 minutes before rolling into balls. This step will result in beautifully shaped blossoms that hold their shape.
Baking Tips
- Even Baking: Bake just until the edges are set and the centers are still soft. They will continue to cook slightly once taken out of the oven, ensuring a perfectly chewy texture.
With these tips, your journey to making easy red velvet blossoms is sure to be a sweet success filled with flavor and fun!
Serving Suggestions for Easy Red Velvet Blossoms
The delight of easy red velvet blossoms doesn’t just lie in their rich flavor and vibrant color, but also in how they can elevate any gathering. Whether it’s a cozy evening at home or a vibrant celebration with friends, these cookies bring a touch of elegance that’s hard to resist.
Pair With Your Favorite Beverage
For a truly memorable experience, consider serving your blossoms with a warm beverage. A classic pairing is a steaming cup of coffee, which perfectly balances the sweetness of the cookies. If you’re in the mood for something refreshing, try them with a glass of cold milk or even chai tea, which complements the subtle hints of cocoa and vanilla.
Create a Dessert Platter
Why not turn a simple treat into a showstopper? Arrange your easy red velvet blossoms on a decorative platter alongside complementary desserts like cream cheese brownies or chocolate-dipped strawberries. This not only creates an inviting presentation but also offers your guests a delightful variety to choose from.
Festive Toppings and Additions
Consider adding a decorative touch with a sprinkle of powdered sugar or a drizzle of white chocolate over your blossoms for that extra flair. If you’re feeling adventurous, a dollop of whipped cream on the side can make for a delightful dip, adding a creamy contrast to the cookies.
Share the Joy
Lastly, don’t forget that sharing is caring! Package a few of your easy red velvet blossoms in a cute box or tin as a thoughtful gift for a friend. It’s a sweet way to spread joy and make someone’s day a little brighter.
Embrace these simple yet effective serving suggestions to truly showcase your delicious creations!
Time Breakdown for Easy Red Velvet Blossoms
Preparing easy red velvet blossoms is more than just following a recipe; it’s about creating delightful bites of sweetness that can spark joy in any gathering. Here’s a quick look at how you can plan your baking adventure.
Preparation Time
Getting started is a breeze! You’ll spend about 15 minutes gathering your ingredients, mixing the batter, and prepping your baking sheet. It’s the perfect time to enjoy a good playlist or podcast while you work.
Baking Time
Once your oven is preheated, the actual baking will only take around 10-12 minutes. Keep an eye on them to ensure they don’t overbake, as you want them soft and chewy.
Total Time
From start to finish, you’ll be looking at approximately 30 minutes to create these delightful red velvet blossoms. In no time, you’ll have scrumptious cookies ready to share—or enjoy all by yourself!
Nutritional Facts for Easy Red Velvet Blossoms
Creating easy red velvet blossoms not only delights your taste buds but also informs your palate about their nutritional content. Here’s a quick breakdown to help you decide how sweet these cookies fit into your daily diet.
Calories
Each of these delightful cookies packs around 150 calories. It’s a cozy treat that won’t completely derail your daily intake, making them perfect for sharing or enjoying as a little personal indulgence.
Protein
These easy red velvet blossoms offer about 2 grams of protein per cookie. While they aren’t a protein powerhouse, pairing them with a glass of milk or a scoop of nut butter can help balance the macronutrients for a satisfying snack.
Sodium
With roughly 100 milligrams of sodium per cookie, they are relatively low in salt, which makes them a good choice when you’re keeping an eye on sodium intake while enjoying a sweet treat.
Enjoy these easy red velvet blossoms knowing you have all the delicious details at your fingertips!
FAQs About Easy Red Velvet Blossoms
Baking easy red velvet blossoms can bring a touch of delightful nostalgia as you whip up these vibrant cookies, perfect for special occasions or just a cozy day at home. As you prepare to share—or keep—these sweet treats, you might have a few questions. Here’s a friendly guide to help you navigate through some common inquiries.
Can I make these cookies ahead of time?
Absolutely! You can prepare the dough for your easy red velvet blossoms a day or two in advance. Just make sure to wrap the dough tightly in plastic wrap and store it in the refrigerator. This not only saves you time but also allows the flavors to meld beautifully. When you’re ready to bake, simply let it soften slightly at room temperature.
How can I store leftover cookies?
If you happen to have some easy red velvet blossoms left after your baking spree (which is rare, but it can happen!), store them in an airtight container at room temperature. They stay fresh for about 3-5 days. If you’d like to keep them for longer, you can refrigerate them—just be sure to let them come back to room temperature before enjoying for the best taste and texture.
Can I freeze the dough for later use?
You bet! Freezing the dough is a great strategy. After shaping the dough into balls, lay them on a baking sheet lined with parchment paper and freeze until solid. Once frozen, transfer the dough balls to a resealable plastic bag or airtight container, and they can last up to three months in the freezer. When you’re ready to indulge, just bake straight from frozen, adding a couple of extra minutes to the baking time.
With these tips, baking your easy red velvet blossoms can be not just fun, but also convenient!
Conclusion on Easy Red Velvet Blossoms
In wrapping up our journey with easy red velvet blossoms, it’s clear that this delightful treat isn’t just a cookie—it’s an experience. The rich blend of cocoa and vanilla creates a lovely flavor, while the vibrant red hue brings an extra touch of festivity to any gathering. Whether you’re baking for a holiday, an event, or just because, these cookies are sure to impress. Remember, the simple act of baking can transform your day and spread joy to those around you. Embrace the magic of these blossoms, and don’t forget to share your delicious moments with friends and family!
Print
Red Velvet Cookies
- Total Time: 25 minutes
- Yield: 18 cookies 1x
- Diet: Vegetarian
Description
These delicious red velvet cookies are soft, chewy, and filled with melty chocolate kisses. Perfect for any occasion!
Ingredients
Scale
- 7 tbsp butter (salted or unsalted, softened)
- 1/2 cup brown sugar
- 2 tbsp granulated sugar
- 1 tsp vanilla extract
- 1 large egg yolk
- 1/4 tsp red gel food coloring
- 1 cup all-purpose flour
- 1 tbsp cocoa powder
- 1/2 tsp baking powder
- 1/4 tsp salt
- 1/4 cup red sanding sugar
- 18 Hershey chocolate kisses (unwrapped)
Instructions
- Preheat the oven to 350°F (175°C). Line a large baking sheet with parchment paper and set aside.
- In a stand mixer or large bowl, cream together the butter, brown sugar, and granulated sugar until smooth.
- Add the egg yolk, vanilla extract, and red gel food coloring. Mix until fully combined.
- Add the flour, cocoa powder, baking powder, and salt. Mix just until the dry ingredients disappear—do not overmix.
- Scoop the dough into 18 equal portions. Roll each into a ball, then roll in red sanding sugar to coat.
- Place cookie dough balls onto the prepared baking sheet and bake for 10 minutes.
- Immediately press a chocolate kiss into the center of each cookie as they come out of the oven.
- Allow cookies to cool on the baking sheet for 10 minutes before transferring to a cooling rack.
Notes
- For a rich flavor, use unsweetened cocoa powder.
- These cookies can be stored in an airtight container for up to one week.
- Prep Time: 15 minutes
- Cook Time: 10 minutes
- Category: Dessert
- Method: Baking
- Cuisine: American
Nutrition
- Serving Size: 1 cookie
- Calories: 120
- Sugar: 10g
- Sodium: 50mg
- Fat: 6g
- Saturated Fat: 4g
- Unsaturated Fat: 2g
- Trans Fat: 0g
- Carbohydrates: 16g
- Fiber: 0g
- Protein: 1g
- Cholesterol: 25mg